When is the Low Bid Not Really?
Installing a resinous floor is not like putting a coat of paint on a wall and, despite claims by some retailers, it is not a weekend project for a homeowner. A quality resinous installer must have a thorough understanding of the chemistry of the flooring system and how each step interacts with the others. He must also understand the substrate, planned use, environmental conditions and application methods. The SSPC (Society for Protective Coatings) recommends that a resinous installer have quality control procedures in place that cover pre installation inspection, each step of the installation, and a post installation inspection.
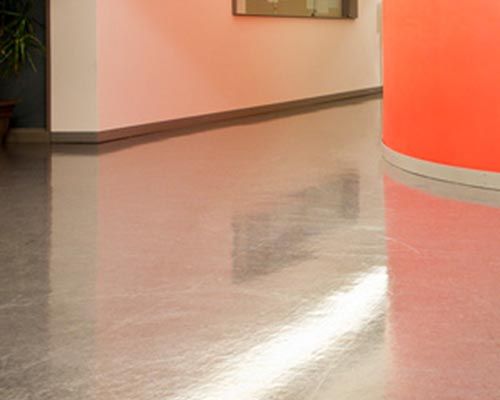
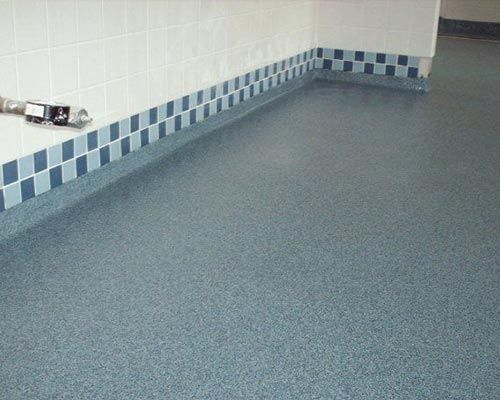
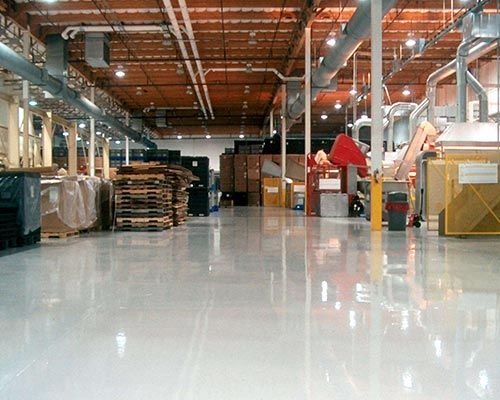
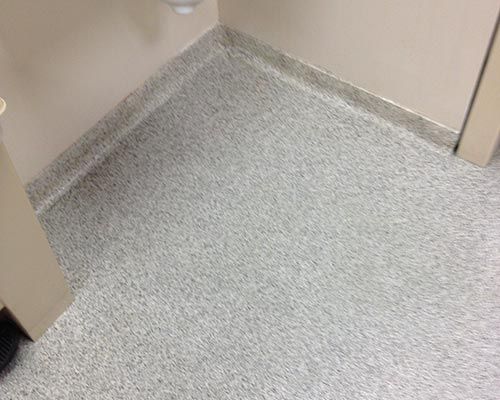
The photos shown are not DMA installations.
- Substrate Evaluation – The substrate must be thoroughly evaluated to identify soundness of the floor, surface imperfections, contaminants, presence of a moisture retarder, slab and surface moisture conditions, and surface profile.
- Ambient Conditions – The environmental conditions of the installation area can drastically affect the chemical reactions that must take place for the floor to achieve its desired goals.
- Surface Preparation – Inadequate surface preparation is the leading cause of failure in resinous flooring systems.
- Proper System – Selecting the proper system for the environment, substrate, and intended use can impact the life of the floor. Shut down time, odor, chemical resistance, abrasion resistance, texture, slip resistance, thermal resistance, UV stability, and light reflectance need all be taken into consideration when selecting the proper system.
- Mixing – Mix ratios must be carefully monitored to ensure proper chemical reactions. The proper mixing equipment must also be used to prevent the introduction of air into the product.
- Application Method – Proper application method is vital to ensure proper film thickness and in order to prevent bubbles and solvent entrapment.
- Slab Moisture – Proper moisture testing methods must be used and any excess moisture must be addressed to prevent osmotic blistering and disbonding due to ASR (Alkali Silica Reaction.) It is also important to be aware of aggregate mix, water/cement ratios, trowelling and curing methods.
- Recoat Times – Different chemistries can have vastly different recoat times. Failing to follow proper recoat schedules can cause poor intercoat adhesion and lead to failure.
- Amine Blush – Amine blush can occur during the curing of individual coats and leave a waxy residue on the surface. Failure to properly remove the blush can cause intercoat failure.
- Color Shading – Improper mixing/boxing of materials can cause significant color variances from one area to the next.


